Quilt, Quilt Blocks, Quilting Basics, Tutorials
How to Square Up Half Square Triangles – Tutorial
Squaring up Half Square Triangles (HST’s) is key to getting super crisp points on your blocks. This tutorial will help you learn how perfectly trim your HST’s for accurate piecing.

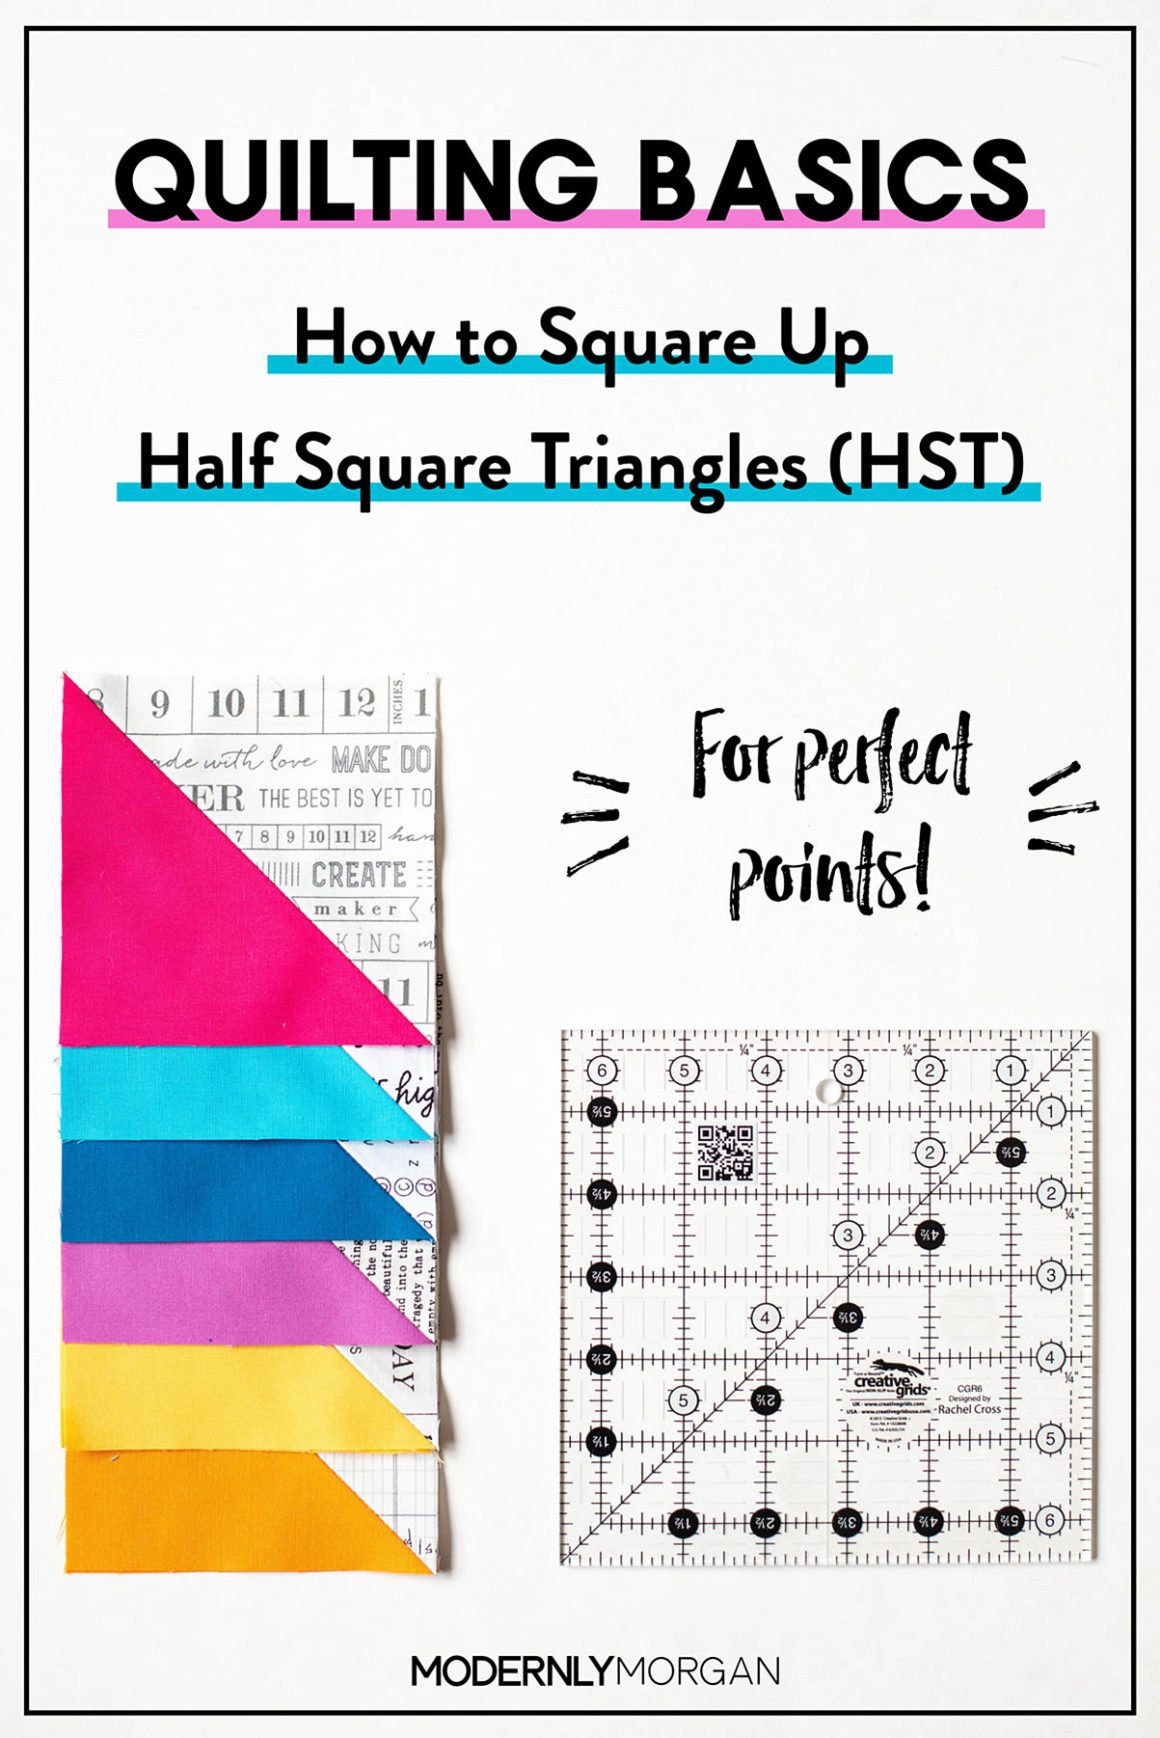
As I mentioned in my last post, How To Make Half Square Triangles (HST), Half Square Triangles are pretty much a foundation block in quilting. Anyone can make a HST but quilt pros know how to square them with perfect corners for perfect points. And you’ll be a pro after following this tutorial! 😉
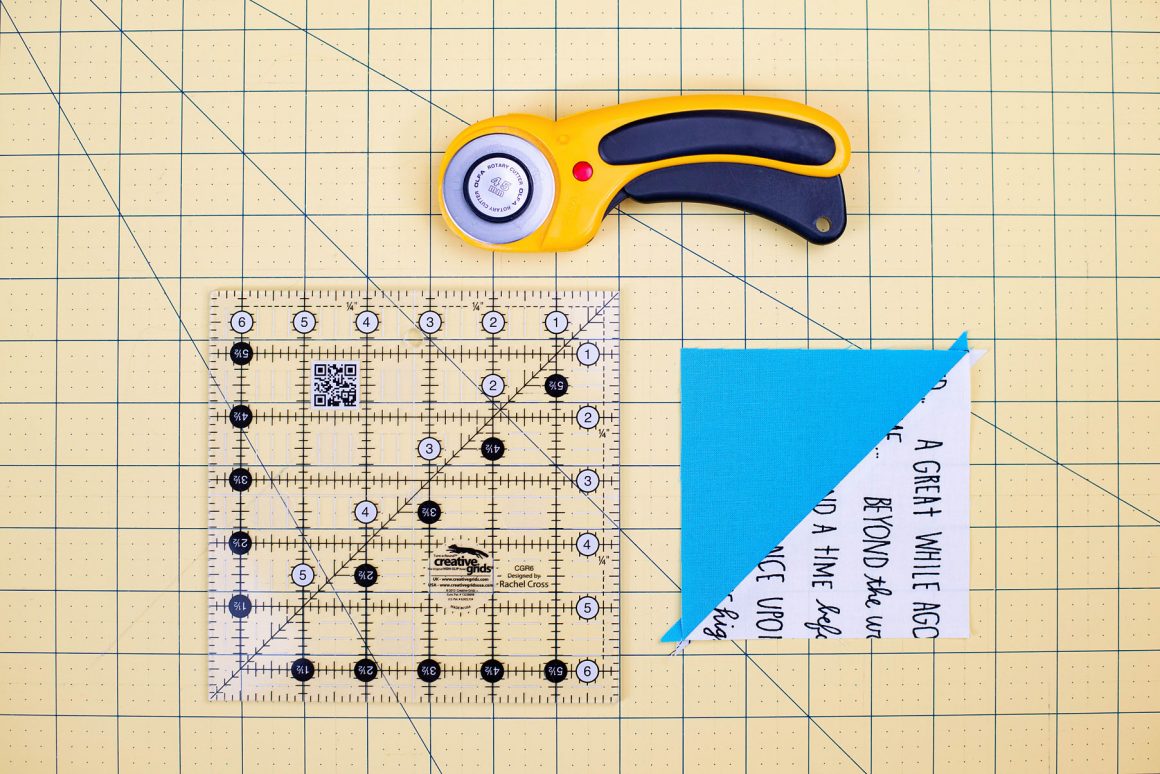
To get started you’ll need a few quilting supplies:
•Cutting Mat (this one is the most recent one I added to my collection)
•Rotary Cutter
•Square Rulers (I’ll get to why I love the ones I have in a minute!)
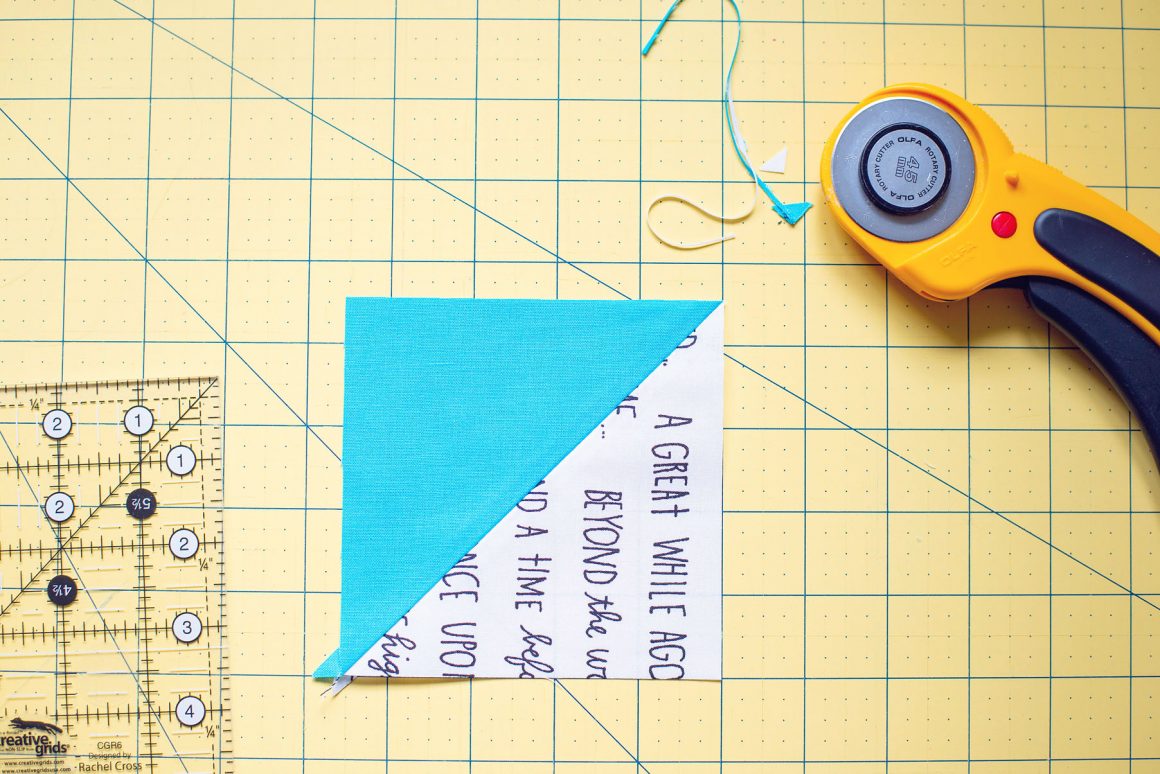
•HSTs ready to be trimmed
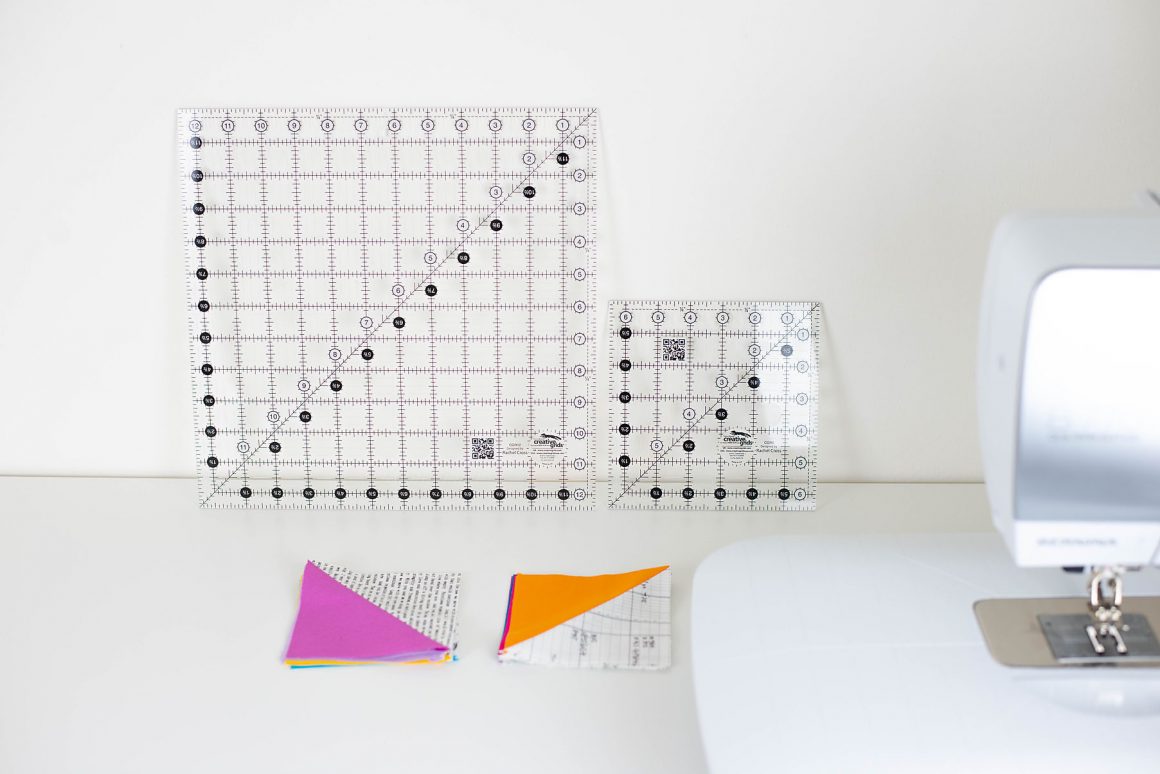
These are the two square rulers that I own….a big one and a small one. I’ve found with these two sizes, they accommodate almost any quilt pattern that I’ve stumbled across and I haven’t needed to buy any additional ones. Now, don’t let the price scare you…they are worth every penny! When I first started out quilting, I bought cheap rulers and never could seem to get the accuracy I wanted. These rulers have a grippy texture on the bottom which keeps the ruler in place and doesn’t slide around as you cut your fabric.
Okay, let’s get back to trimming those perfect HSTs!
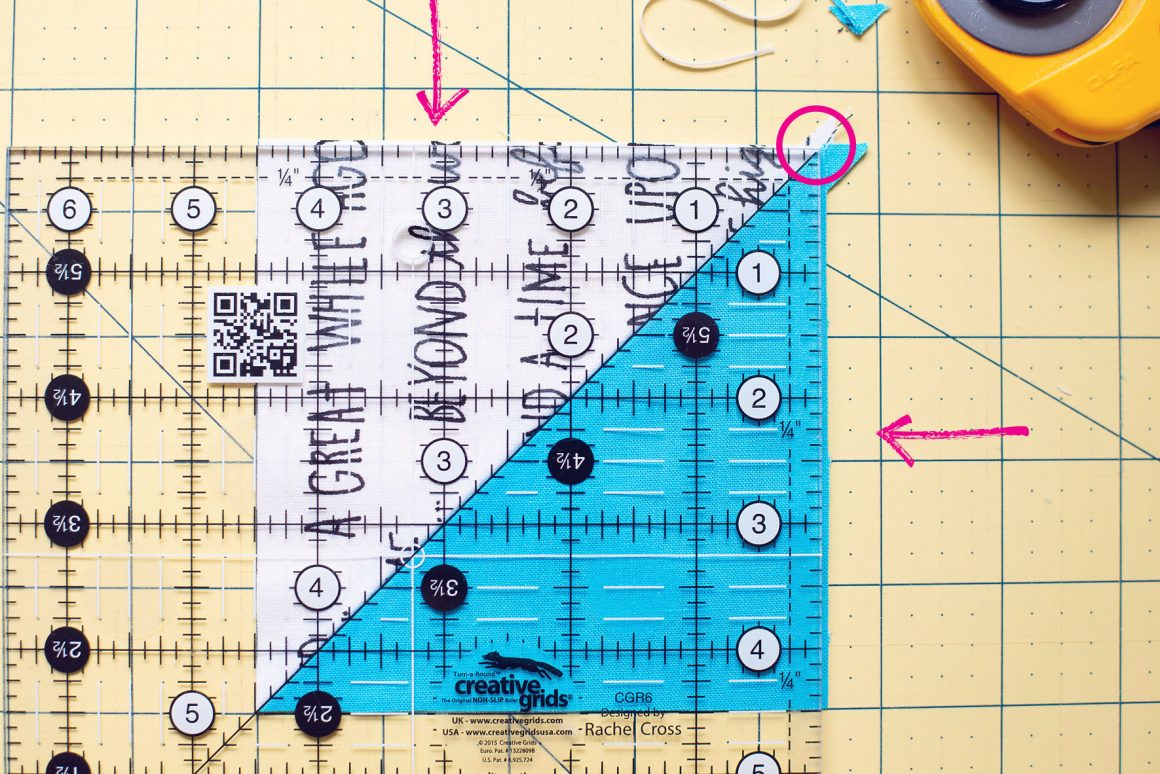
The first step to accurately squaring up HSTs is to take your untrimmed HST, lay it flat on your cutting mat and then lay your square ruler on top of it. You want to make sure that the diagonal line on your ruler is directly over the diagonal seam on your HST. Now notice where I have the pink circles drawn on my ruler…you always want to make sure the edges of your untrimmed HST go beyond the size you are trimming to. I’m trimming the HST below to 4 1/2″ so you’ll see that the I’ve made sure the edges go slightly past that measurement.
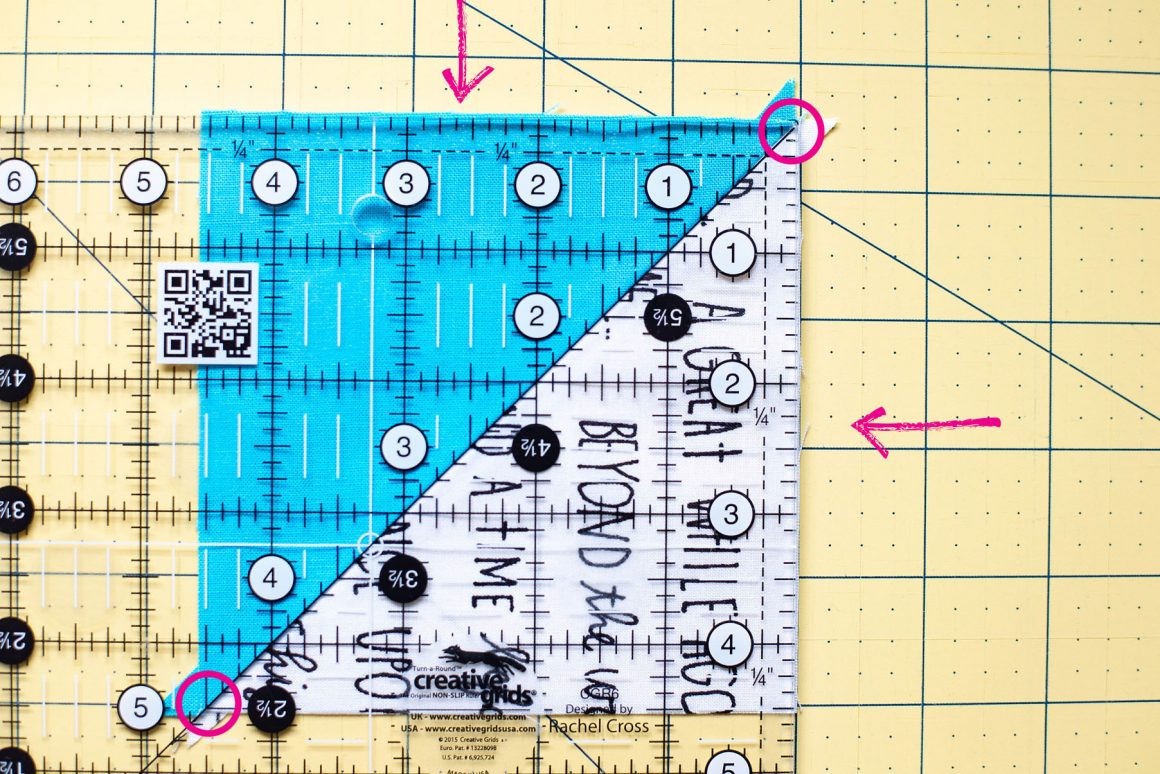
Then trim the sides where I have drawn arrows…your HST will now be partially trimmed and look like the photo below:
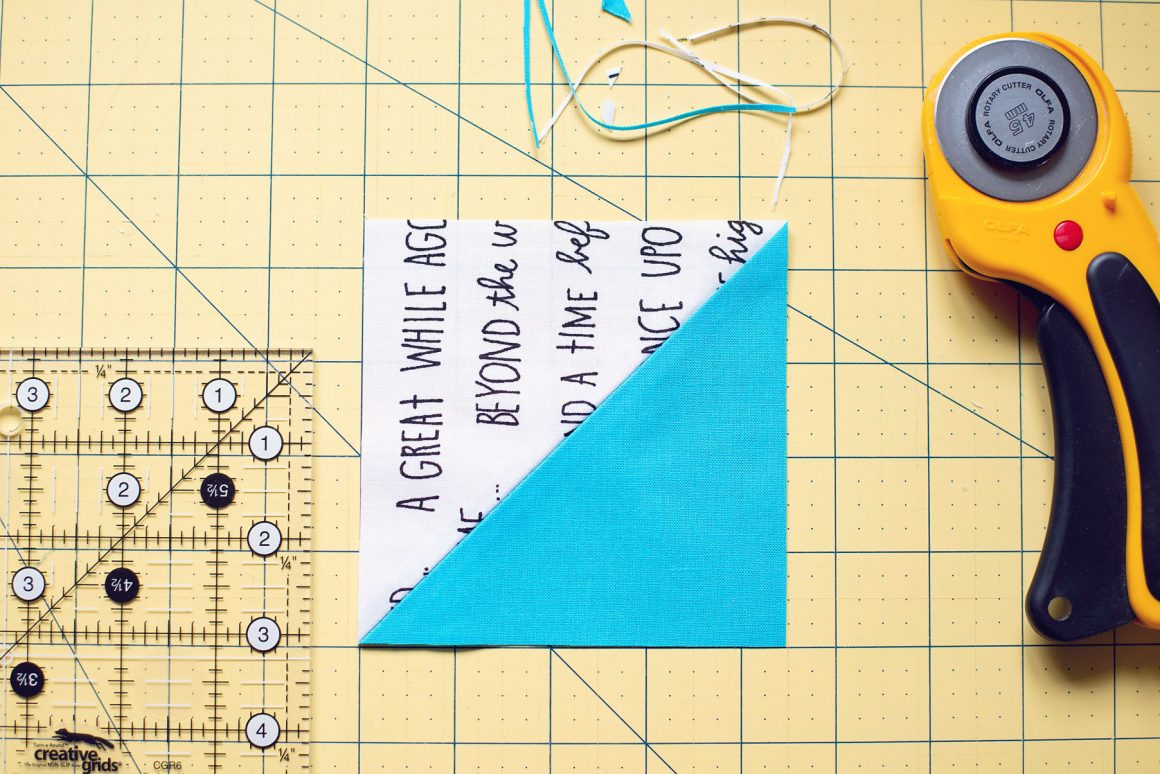
See how nice and crisp that corner/point is now?!
You’re going to turn your HST so that the untrimmed sides/corner can be trimmed. As shown below, I’m going to trim the remaining corner the exact way I trimmed the first one. Line up the HST seam to the diagonal line on the ruler, making sure the trimmed corner (towards the bottom left) is at the measurement on the ruler you need. Since I’m trimming to 4 1/2″, the trimmed point will be exactly on 4 1/2″. This should leave you with a bit of the untrimmed corner hanging outside of the ruler (in the upper right where I have the circle drawn). Go ahead with your rotary cutter and trim the final two sides.
And then you have your beautifully trimmed HST! The accuracy will now make piecing your quilts so much easier and precise.
Some people hate trimming HST’s…but I’ve learned to love it, lol! The satisfaction of perfect points is what makes it worth it!