
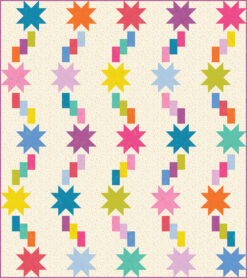
Quilt, Quilt Patterns, Tutorials
Rainbow Quilt Tutorial
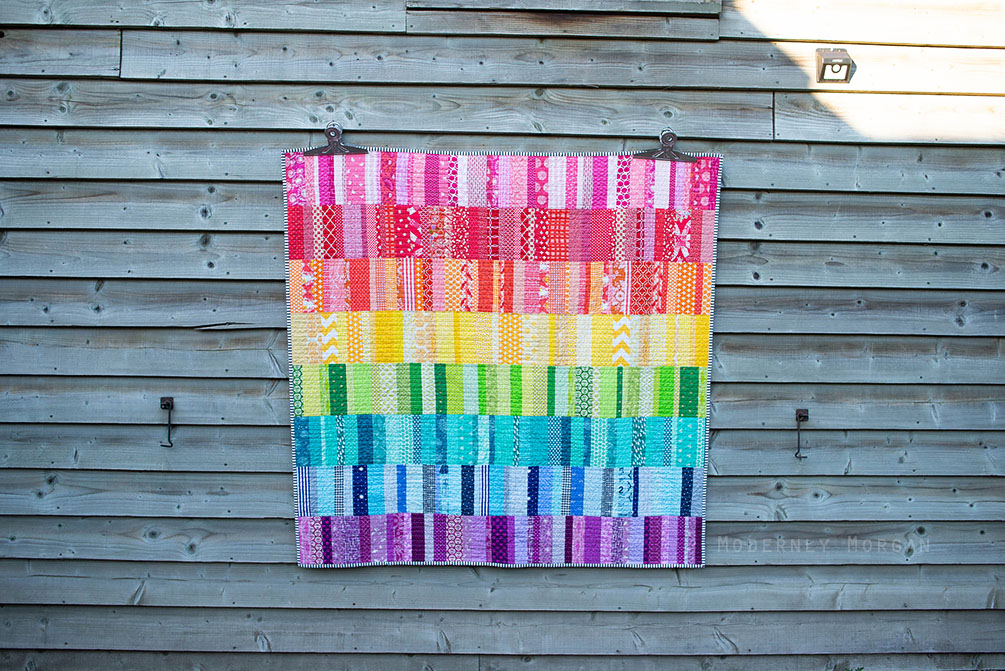
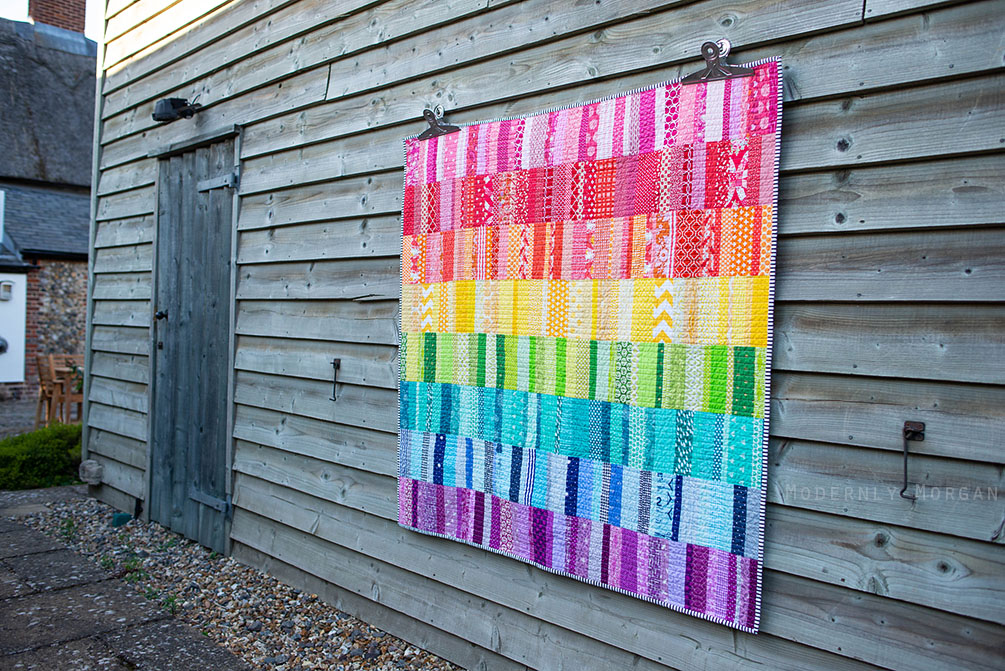
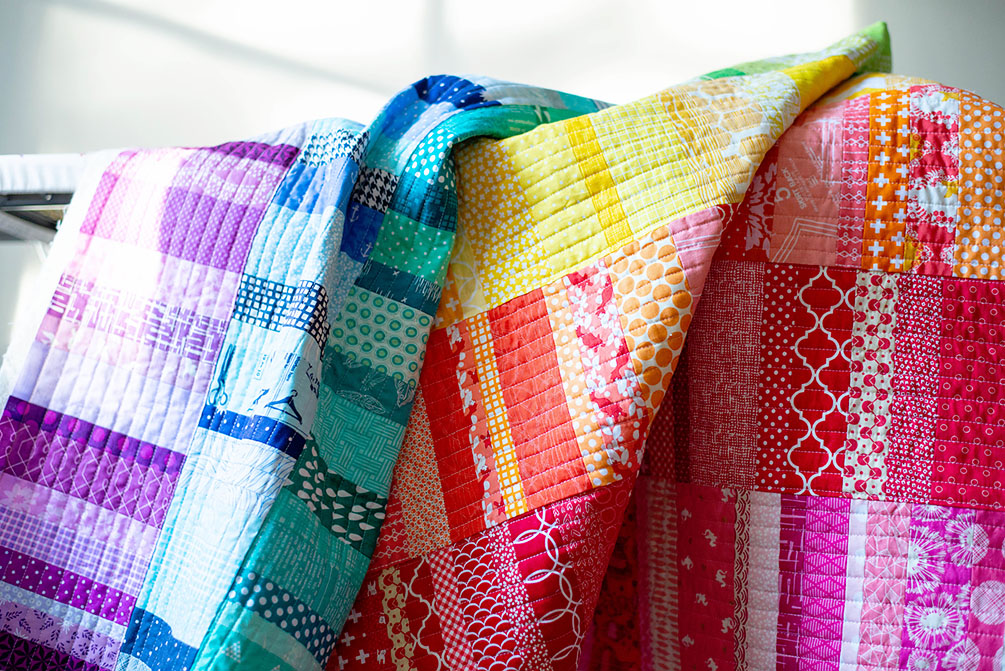
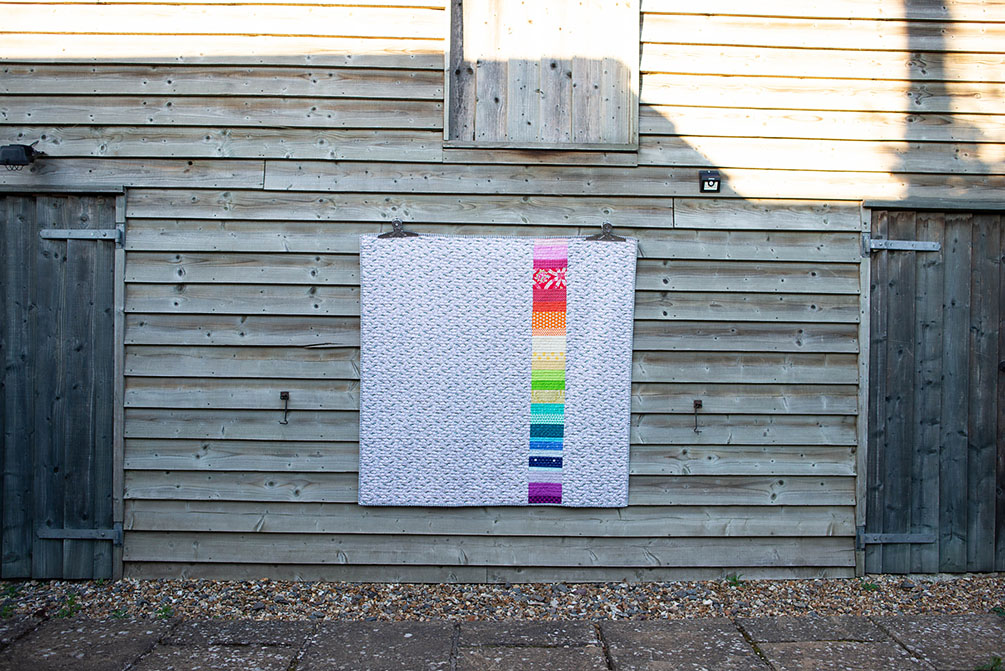
This beauty still leaves me speechless each time I see it!
I decided to make it on a whim, thinking I’d make a scrappy quilt for my girls to share. Little did I know, I’d end up loving it so much that I’d want to keep it for myself, ha! It currently lives on the couch and whoever gets to it first, gets to enjoy it. I’ll admit that it warms my heart to walk by the living room and see one of my kids bundled up with it. Makes all my sewing worth it!
Anyway, I posted this quilt on my Instagram (seriously, come follow along with me if you haven’t already 😉 ) and I got a bunch of questions on what size I cut my color strips and the overall dimensions. I figured I’d whip up a quick blog post with a simple tutorial so that everyone who wants to make a rainbow quilt of their own can do so. Rainbows for everyone!
But first, you have to see more photos!
Okay, enough photos, right? Time for how I made it…and then maybe more photos.
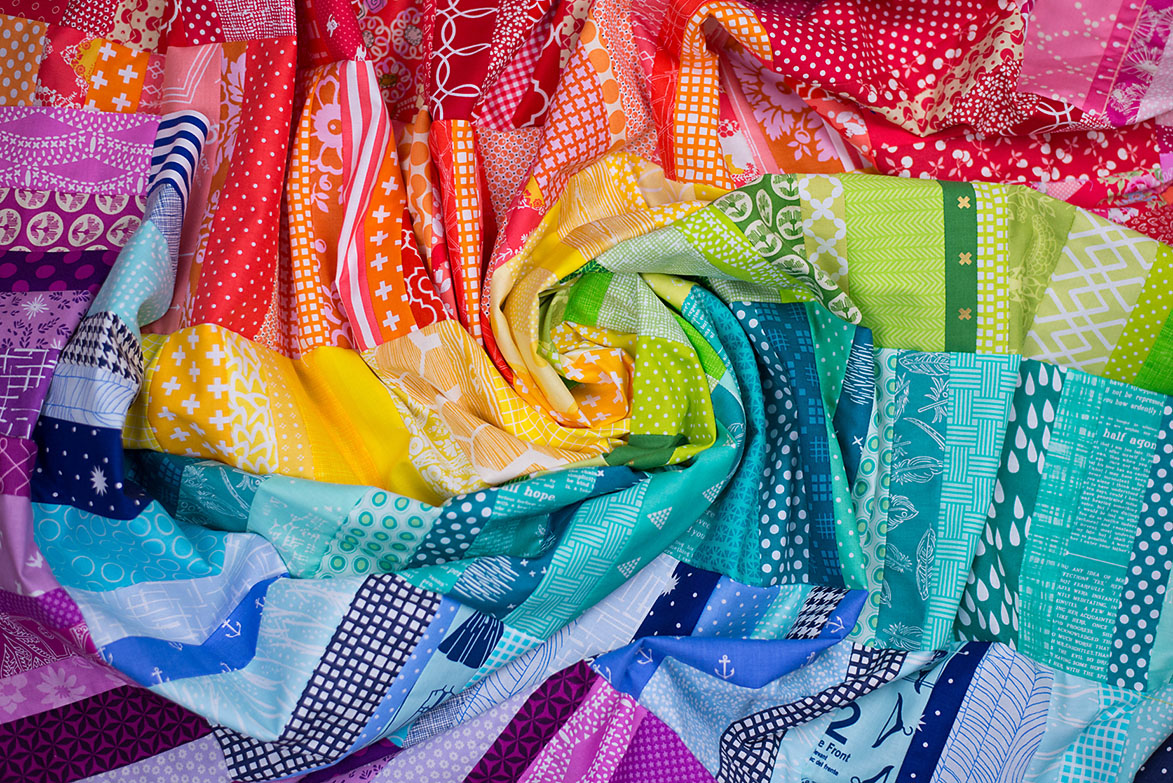
Basically, you need a variety of fabrics in all of the colors you plan on using in your quilt. For me, I had 8 rows and the rows consisted of pink, red, orange, yellow, green, turquoise, blue and purple fabrics.
I then started cutting strips of fabric that were all 7.5 inches tall and of varying widths. I wanted a random look, so the varying widths helped to achieve that. I then sewed those strips together (with a 1/4 seam allowance) until I got a row of color that was was 57 inches long. This is a great throw size but honestly if you want something larger or smaller, it’s really easy to change up the measurements by making your strip taller/shorter or making the row length shorter/longer. 🙂
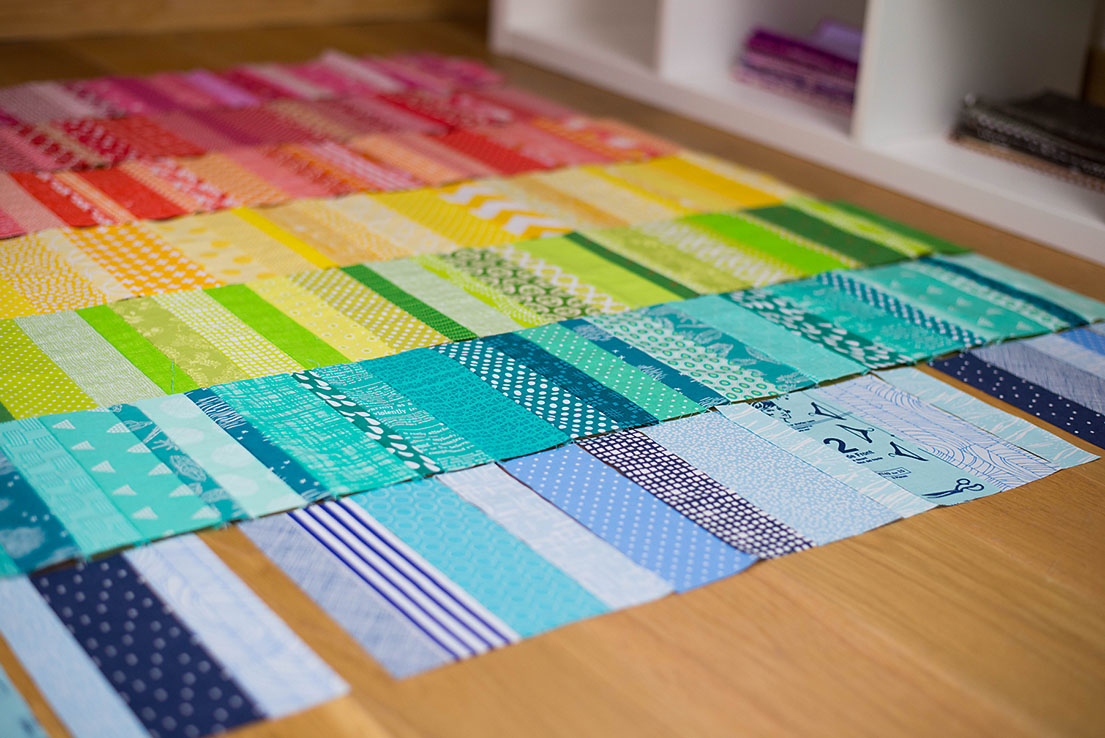
Here’s a picture of almost all of the strips completed.
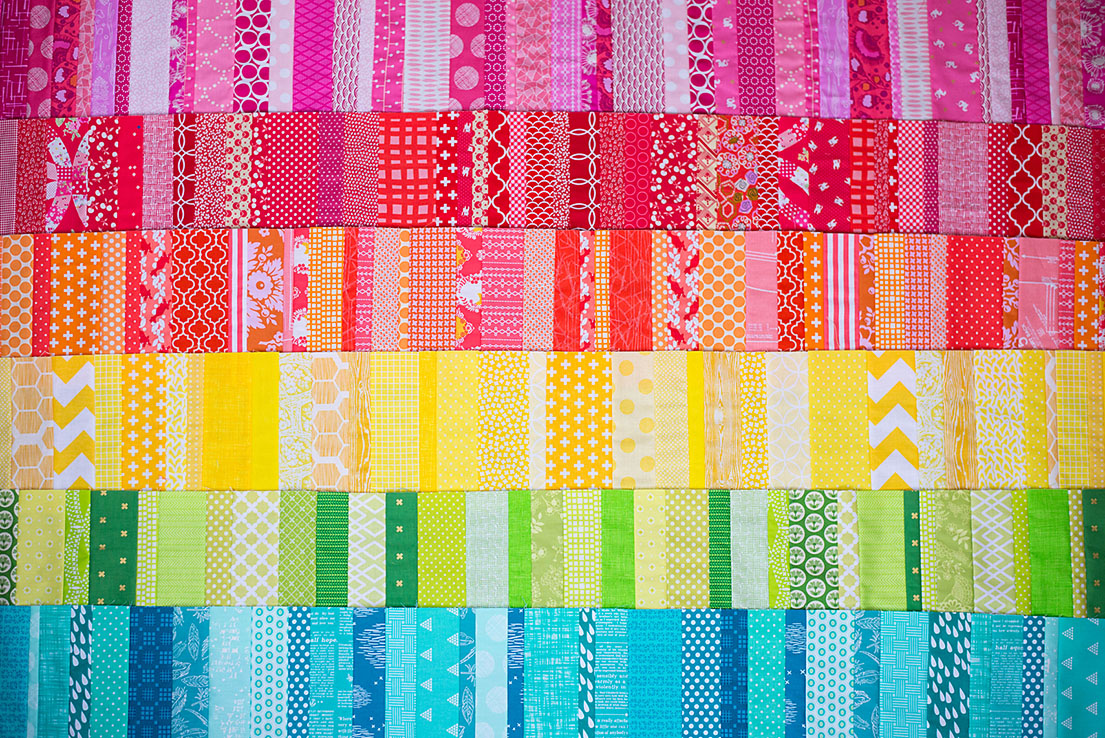
Once all 8 rows were sewn, I then sewed them together in ROYGBIV order. 😉 Super simple!
Then it was time for basting.
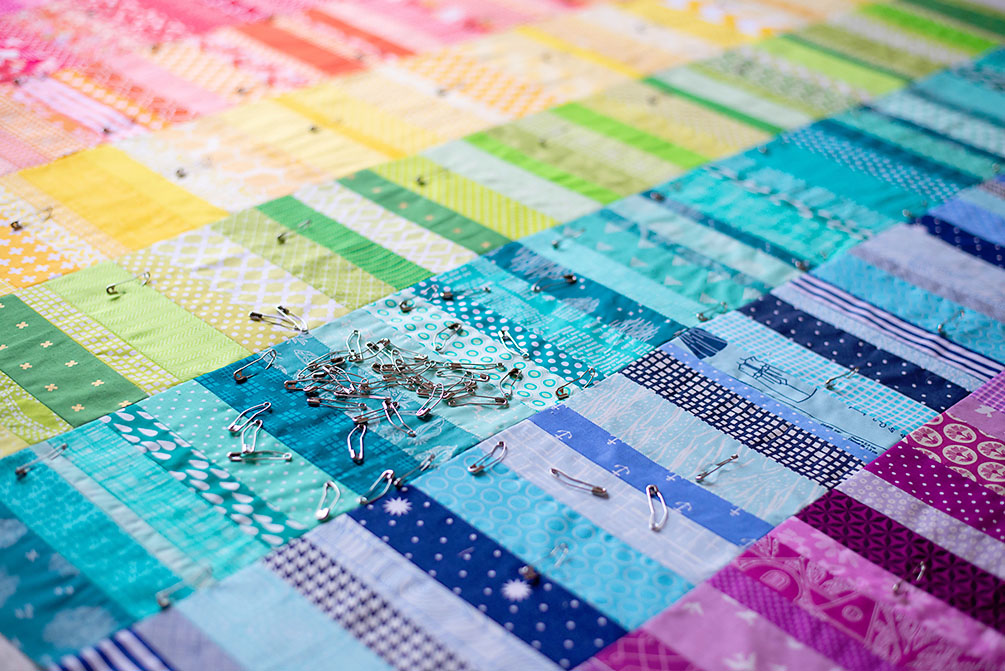
Basting…ugh, how I loathe thee. I will sadly never be a fan of basting quilts…but it is what it is.
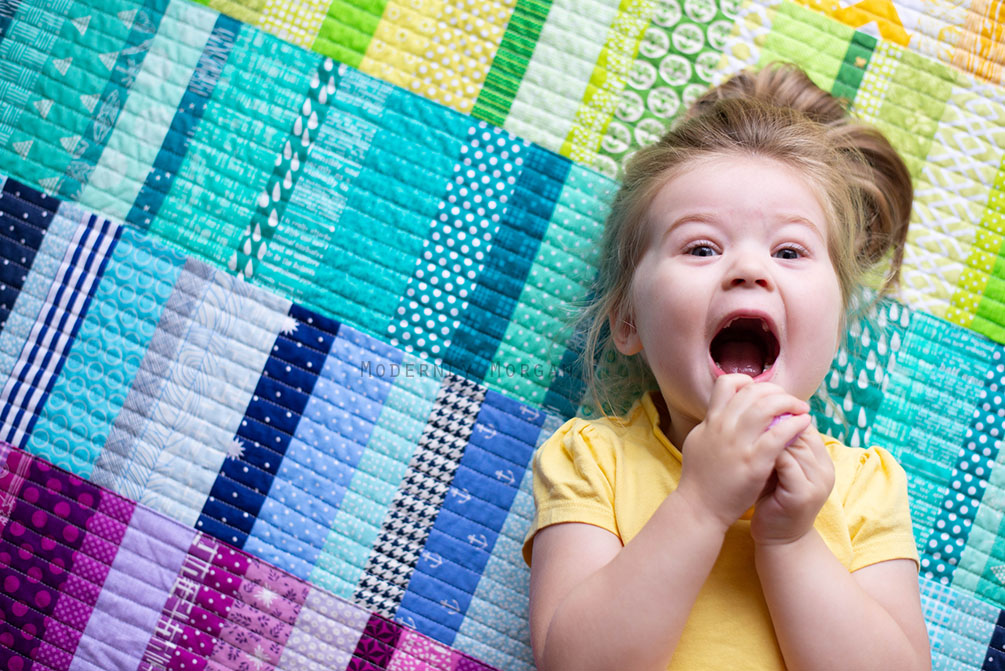
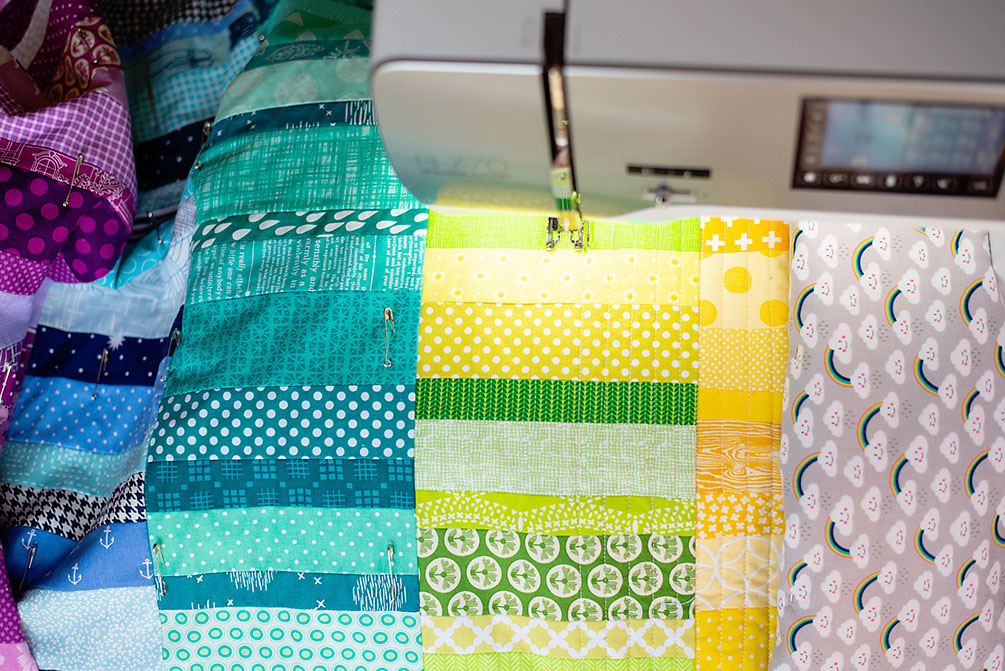
Then it was time for machine quilting. I decided to do straight line quilting and just quilted the lines horizontally at 1/2 inch increments. Not gonna lie, it took forever..
But it was oh so worth it! Right?!
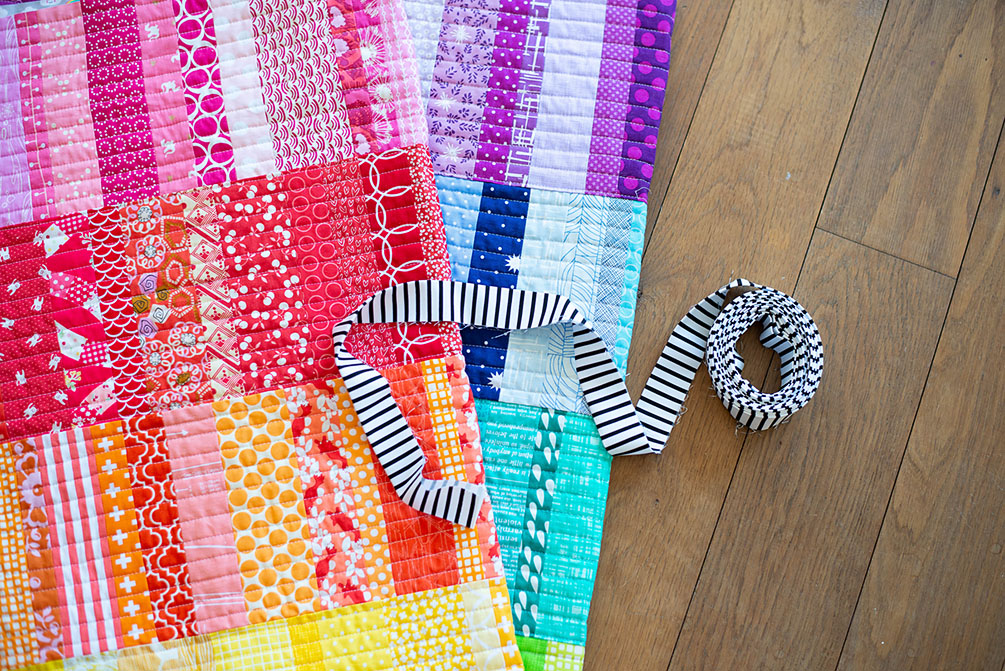
I chose simple black and white striped binding as to not clash with the colors of the quilt and so that the colors would pop on their own.
Then off to be washed! This part always scares me to death since you never know if the Quilt Gods are going be kind to you or throw a wrench into your plans. Lol! Wash on cold, throw some color catchers in and may the odds be forever in your favor. Catch that Hunger Games reference?
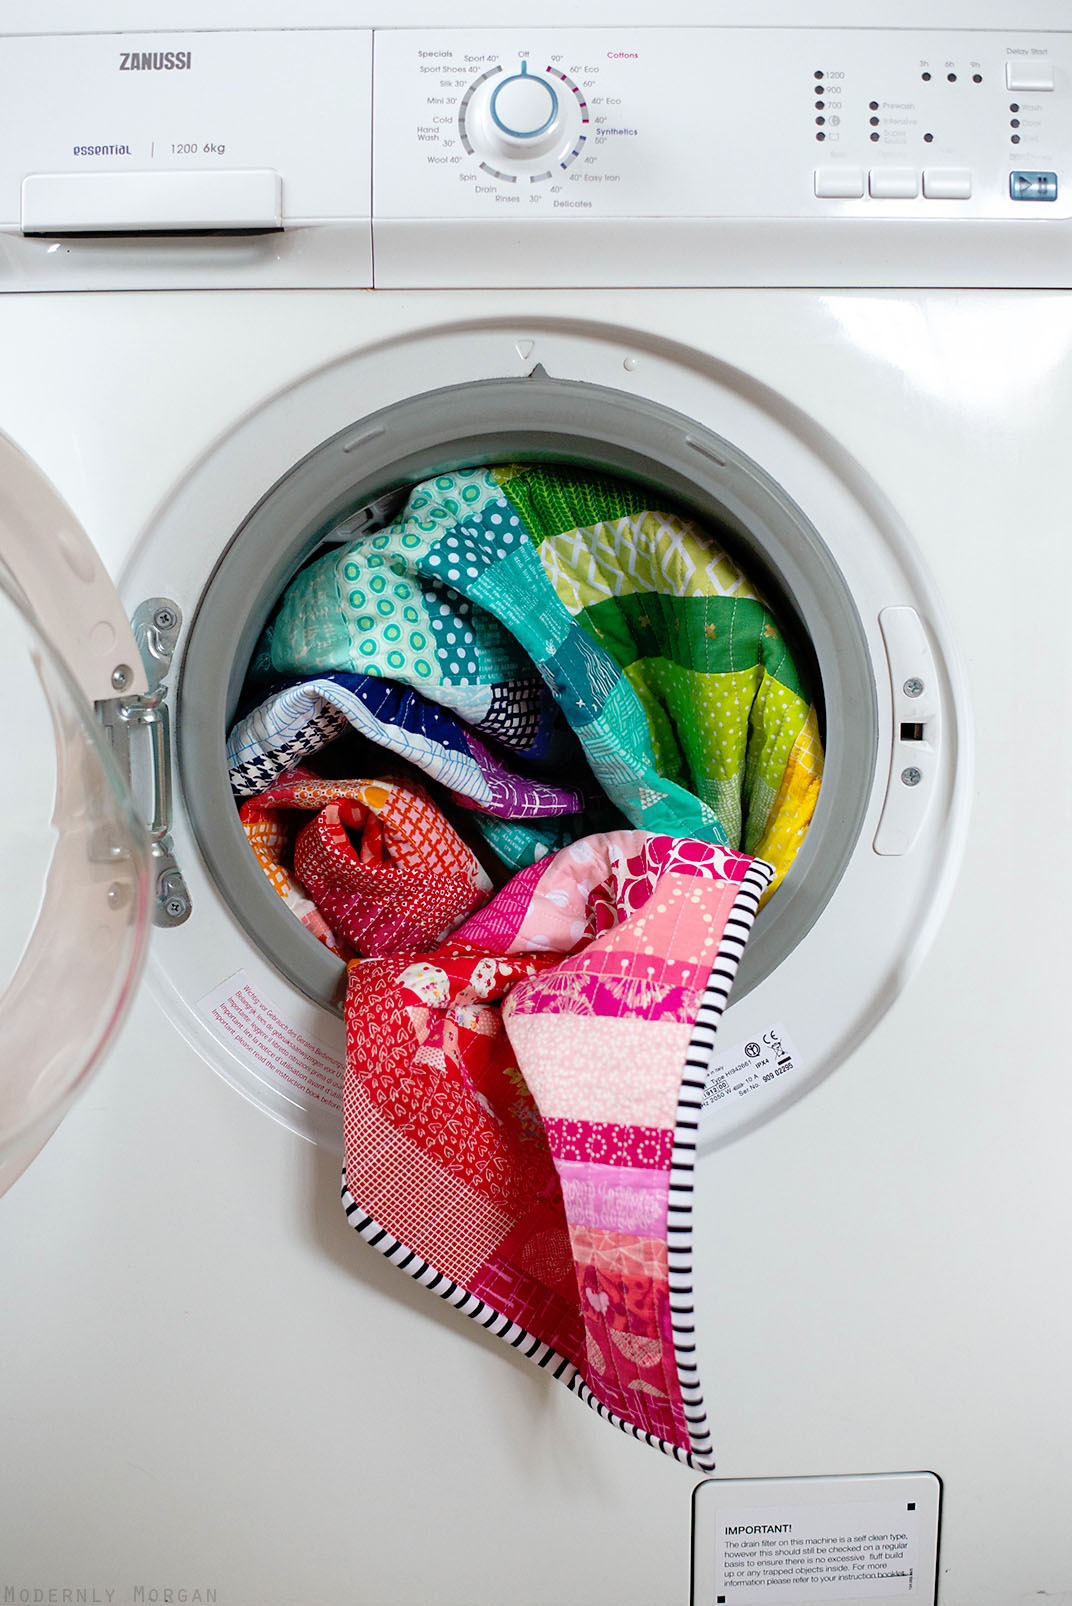
In this case, my quilt survived the wash and came out looking fabulously crinkly and cuddly!
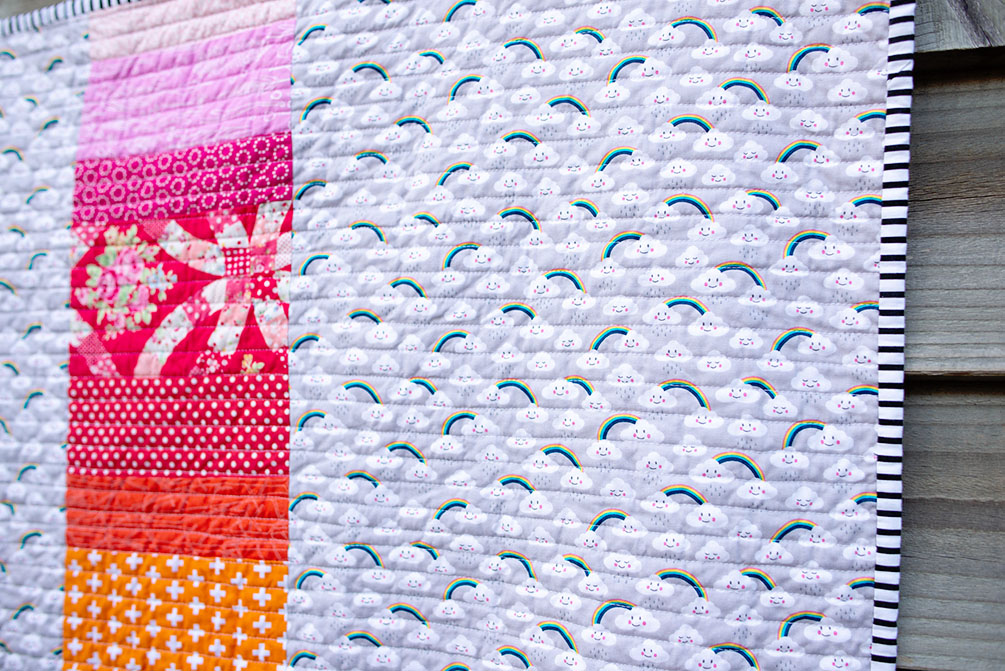
And I almost forgot to show you what I did with the back.
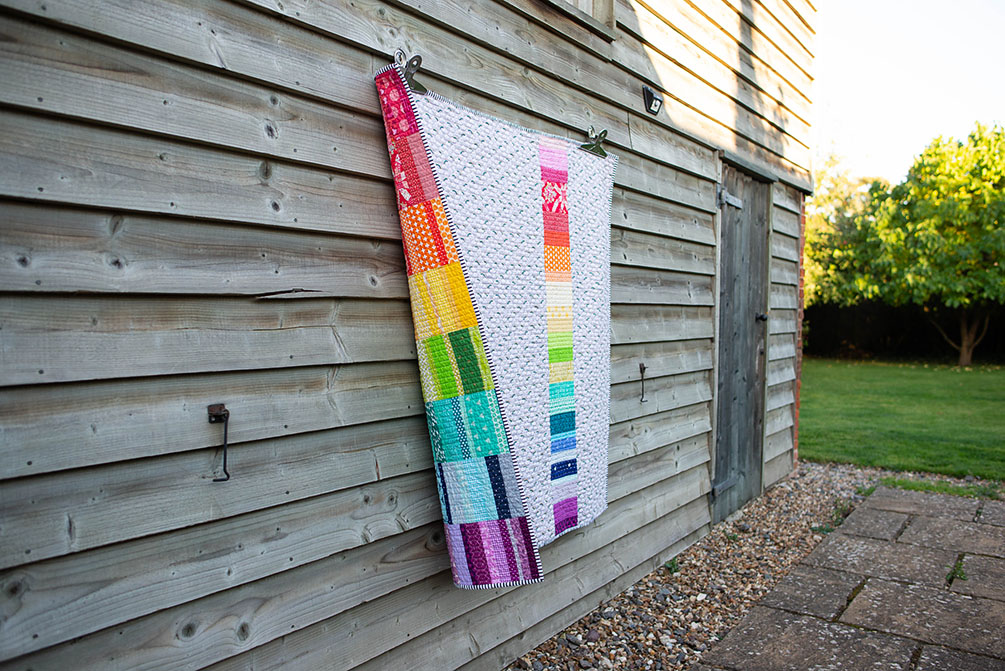
I kept it simple. The main fabric I used was Rainbow Grey in the Daydreamer collection by Andie Hanna w/ Robert Kaufman Fabrics. And I added a vertical rainbow made out of the same strips I used on the front.
Here’s a closer shot of the backing fabric and the quilting (after washing):
So there you have it! A super easy rainbow quilt that everyone will love. I think it would be super sweet as a baby quilt! Let me know if you have any questions and I’ll be glad to help out…just leave me a comment below! I’d also love to see any finished quilt you make so be sure to tag me on instagram!

-
 Simply Scraps Quilt – PDF Pattern$12.00
 -
 Irish Stars Quilt – PDF Pattern$12.00
 -
 Jelly Plus Quilt – PDF Pattern$12.00
 -
 Scrap Mountains Quilt – PDF Pattern$12.00
 -
 Jelly Trees Quilt – PDF Pattern$12.00
 -
 Spaced Out Quilt – PDF Pattern$12.00
 -
 Jelly Hearts Quilt – PDF Pattern$12.00
 -
 Fairy Dust Quilt – PDF Pattern$12.00
 -
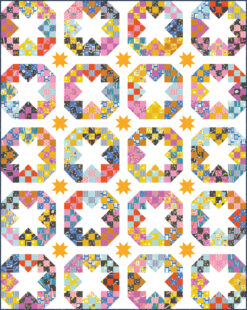 Disco Stars Quilt – PDF Pattern$12.00
I love this so much!! What batting did you use? I would love to use something a bit more ‘blanketish’, if that makes sense…. quilt batting can be a bit stiff. Your recommendations??
A layer or 2 of flannel might give you the drapiness you’re looking for?
Noreen, I’ve actually never used flannel as batting and now you’ve intrigued me! I need to give this a try in the near future! 🙂
Hey Monica…I used Warm and Natural cotton with this quilt. I would say that it normally gives a ‘blanketish’ type drape but because I did denser quilted lines on this quilt it’s a bit more stiff. I actually just bought some washable wool batting and some poly batting (which I normally avoid but my husband has been asking for a quilt with it) so I’ll keep you posted on what results I have with both of those. 🙂
Your quilt is so gorgeous!
Thank you Kim. 🙂
The quilt is truely amazing! No wonder everyone tries to call dips 🙂 And btw great pictures.
I have currently way too many projects but maybe someday in the future…
Thanks Melanie! 🙂 I feel you about having way too many projects…my list of things I want to make goes on and on, lol!
Was there a size limit to the width of your colored strips? What would the widest width you used be?